Posted in Craft in the Classroom, Felt, tagged bag, bowl, cord, Felt, felt cord, felting, fulling, plaited, plaited cord, plaited felt cord, shrinking, vessel, wall hanging, wet felt, wet felting on April 14, 2009|
Leave a Comment »

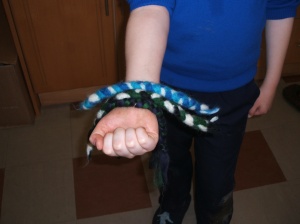
A colourful collection of plaited felt cords

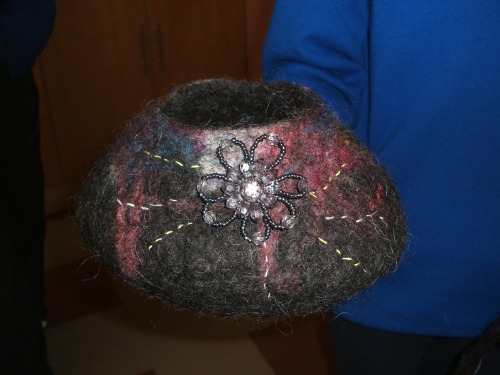
A wonderful embellished bowl

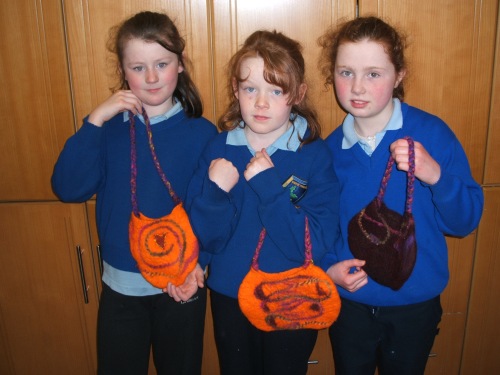
Designer felt bags!
Over the course of our final two days many pupils choose to make felt vessels, bags, balls and cords. Embellishing both bags and bowls worked extremely will as I am sure you will agree from some of our photos. Everyone loved making felt bracelets, plaiting the wool roving and then dipping in warm soapy water before rolling, rolling and rolling some more!
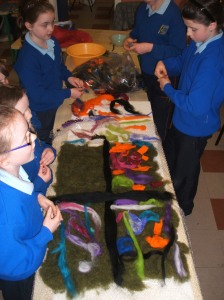
When the pupils went home on Tuesday afternoon I stayed in the school for another while and started rolling the wall hanging by hand. We had measured the piece prior to felting and it measured over 2m X 1m, hopefully someone will email me the exact measurements as I totally forgot to write them down! Once I knew that the surface wool and silk fibres were firmly attached and the whole piece was starting to shrink I then went back to my friend’s house in Carrick and put it in their washing machine on a 40 degree wash. The wash cycle was a bit longer than I would usually do in my own machine but the wall hanging felted perfectly although it did shrink a little more than I anticipated! When it came out of the machine I rolled again by hand, stretched out the edges and the left it lying flat to start the drying out process. On Wednesday morning Killian took charge of my electric razor and with help from other interested pupils the surface of the felt was shaved. The reason for shaving the surface is to snip of the white fibres from the base that migrate through the coloured wool during the felting and fulling (shrinking) process. From a technical point of view it is interesting to note how muted the surface design becomes as the wall hanging felts and strengthens up. If you look at the back of the finished piece the colours from the front are also clearly visable on the reverse, a sign of a well felted piece! The Crafts Council’s photographer Bernie McCoy arrived on Wednesday morning to take pictures of everyone at work and I am just waiting for her to send me some images of the finished piece and I will get them posted here to the blog. I will also check the measurements of the finished wall hanging and we will be able to calculate exactly how much it has shrunk!
Read Full Post »


